- Download and install Ruby. For Windows, there is a .exe installer. Make sure you pick the installer that comes with the "gems" package updater. I installed at c:\ruby to keep things simple. Installers are at http://www.ruby-lang.org/en/downloads/
- Once installed, you made need to add your Ruby bin directory to your PATH environment variable. On 2000, I had to do that, on XP, it just worked from the command line without doing that.
- In a command line window, cd into c:\ruby and run: gem install rails --include-dependencies
- To create the application, I created a webapp directory under c:\ruby.
- Change directory into c:\ruby and type: rails webapp
- Change directory into c:\ruby\webapp and type ruby script/server
- Once that comes up, open up a browser and check out http://localhost:3000
- There you have it, Rails is up and running on Webrick server.
- I already had MySQL installed, so next step was quick for me. If you don't already have it, go download and install MySQL.
- While you're in a downloading kind of mood, you might as well grab the Eclipse plugin for Ruby if you are an Eclipse guy. You could use any editor, like Notepad++, FreeRIDE (is that still supported? not in latest Ruby release, but it was in last release I downloaded), etc.
- With MySQL up and running, create a database and some tables.
- Edit your c:\ruby\webapp\config\database.yml file to point at your database.
- Run ruby script/generate to create controllers, models, etc.
- Edit your c:\ruby\webapp\routes.rb file to add your "routes" for your app.
To create a controller, I did this....
C:\ruby\webapp>ruby script/generate controller recipe list
 exists  app/controllers/
 exists  app/helpers/
 create  app/views/recipe
 exists  test/functional/
 create  app/controllers/recipe_controller.rb
 create  test/functional/recipe_controller_test.rb
 create  app/helpers/recipe_helper.rb
 create  app/views/recipe/list.rhtml
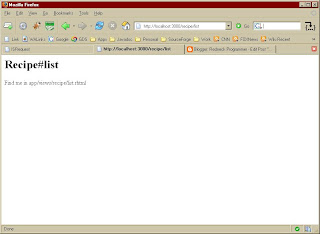
And then enter http://localhost:3000/recipe/list into your browser. So far I got the screen below running without writing a single line of code. Not bad for about 30-45 minutes' worth of work.

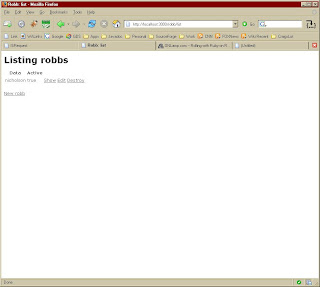
It's amazing what you learn when you actually look at a tutorial. Instead of generating models blindly and getting the above, I should have been creating scaffolding to get something useful. I created a table call "robbs" in my database and added a single row (from MyEclipse DB Explorer). Notice my table is "robbs" plural, and the scaffolding controller and view is simply "robb" singular. Then by running the following command, I get this....
C:\ruby\webapp>ruby script/generate scaffold robb robb
    exists  app/controllers/
    exists  app/helpers/
    exists  app/views/robb
    exists  app/views/layouts/
    exists  test/functional/
dependency  model
    exists    app/models/
    exists    test/unit/
    exists    test/fixtures/
 identical    app/models/robb.rb
 identical    test/unit/robb_test.rb
 identical    test/fixtures/robbs.yml
    create  app/views/robb/_form.rhtml
    create  app/views/robb/list.rhtml
    create  app/views/robb/show.rhtml
    create  app/views/robb/new.rhtml
    create  app/views/robb/edit.rhtml
    create  app/controllers/robb_controller.rb
    create  test/functional/robb_controller_test.rb
    create  app/helpers/robb_helper.rb
    create  app/views/layouts/robb.rhtml
    create  public/stylesheets/scaffold.css

No comments:
Post a Comment